Preparing Your Home for Demolition: A Step-by-Step Guide for Property Owners
Demolishing a home is a big decision that requires careful planning and preparation. Whether you’re tearing down an old structure to build something new or removing a dangerous or unsafe building, it’s essential to understand the steps involved to ensure a smooth and successful demolition. In this guide, we’ll walk you through the key steps property owners should take when preparing their home for demolition.
Step 1: Plan Your Demolition Project
The first step in any demolition project is to have a clear plan in place. This includes understanding the scope of the demolition (full or partial), the timeline, and the budget. You’ll also want to consider what will happen to the debris—will it be removed, recycled, or repurposed?
Working with a professional demolition contractor like Regional Environmental Demolition Inc. (R.E.D.) can help you refine your plan, set a realistic timeline, and ensure that all necessary permits and inspections are accounted for.
Step 2: Obtain the Necessary Permits
Demolition is a regulated activity, and you’ll need to obtain the appropriate permits before proceeding. Local governments require demolition permits to ensure that the work is done safely and complies with zoning regulations, environmental protections, and public safety standards.
Check with your local municipality to find out what permits are required and be sure to apply early, as permit approvals can take time. If you’re working with a demolition contractor, they can help you navigate the permit process.
Step 3: Disconnect Utilities
Before any demolition work begins, all utilities connected to the home must be properly disconnected. This includes:
• Electricity
• Gas
• Water
• Sewer
Failure to disconnect utilities can result in dangerous accidents during demolition. Your utility providers will typically need advance notice to safely disconnect services. Once disconnected, the utility companies may provide written confirmation that you can pass along to your demolition contractor.
Step 4: Conduct Hazardous Material Inspections
Older homes may contain hazardous materials such as asbestos, lead paint, or mold. Before demolition begins, it’s essential to have your home inspected for these materials. If hazardous substances are present, they must be safely removed by licensed professionals before demolition starts.
Asbestos abatement and mold remediation are critical steps in ensuring the safety of the demolition process and protecting the health of workers and neighbors. R.E.D. offers comprehensive asbestos and mold removal services to help you prepare your home for demolition safely.
Step 5: Salvage Valuable Materials
If there are any valuable or sentimental materials in your home—such as fixtures, cabinetry, or architectural elements—it’s worth considering salvaging them before demolition. Salvaging not only helps preserve unique or historic features, but it can also reduce waste and cut down on disposal costs.
Work with your demolition contractor to identify items that can be salvaged. Some materials, such as wood flooring, doors, and hardware, may be repurposed in future projects.
Step 6: Notify Neighbors and Surrounding Properties
Demolition can be noisy and disruptive, so it’s a good idea to inform your neighbors about the project in advance. This gives them time to prepare for any potential disruptions and ensures that your project proceeds smoothly with fewer complaints or concerns.
If your home is located close to other properties, special precautions may need to be taken to prevent damage to neighboring structures during the demolition process. Your contractor should implement safety measures to protect nearby properties from falling debris, dust, or vibrations.
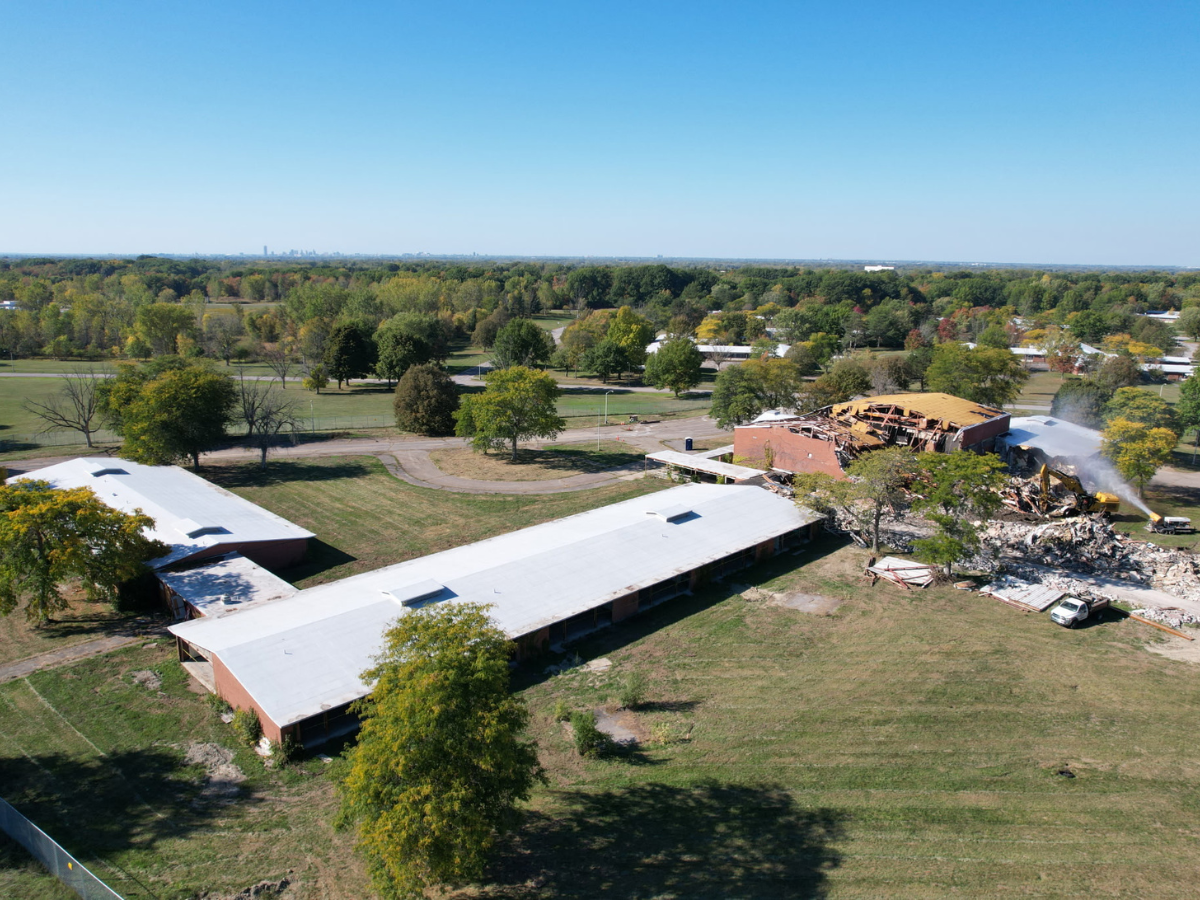
Step 7: Schedule the Demolition
Once all preparations are complete—permits are secured, utilities are disconnected, hazardous materials are removed, and the site is ready—you can schedule your demolition. Your contractor will provide a timeline for the demolition, which will vary depending on the size and complexity of the project.
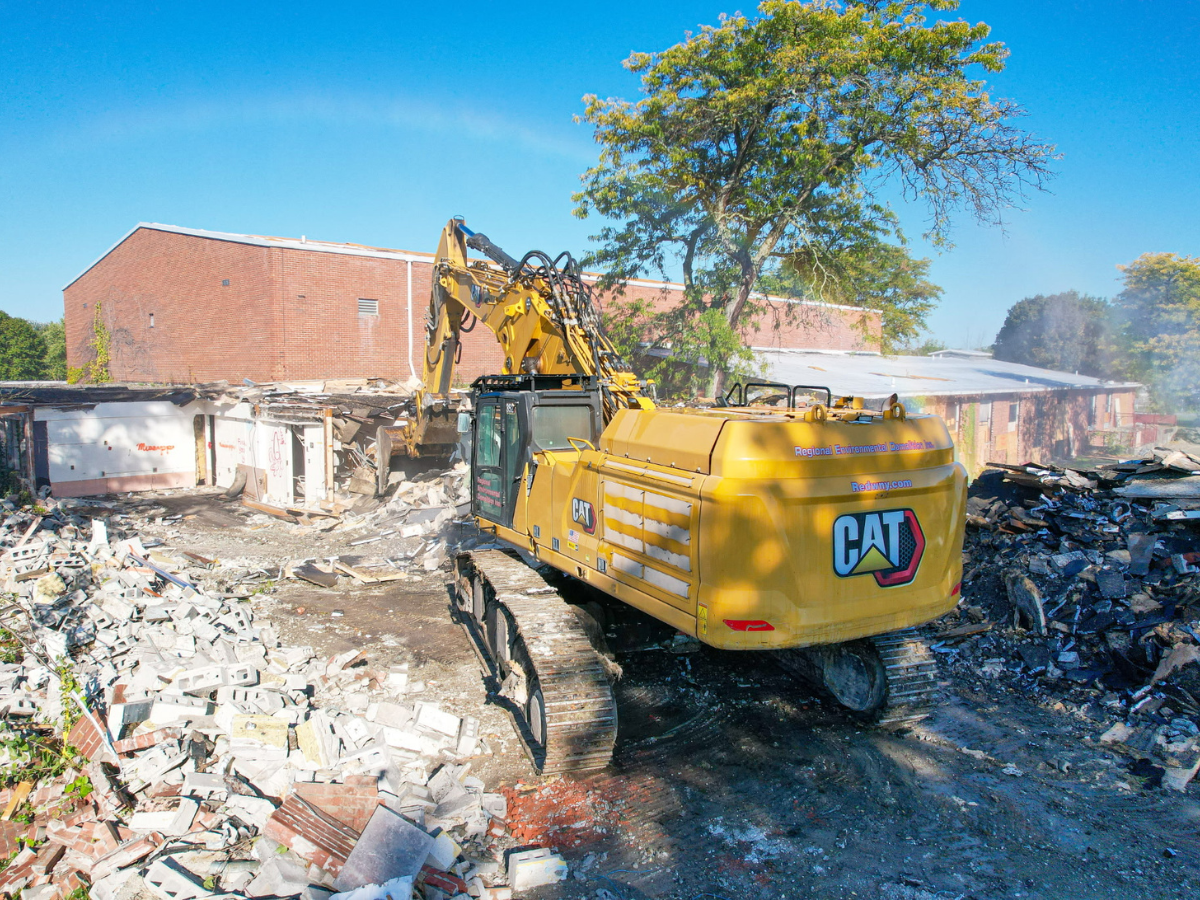
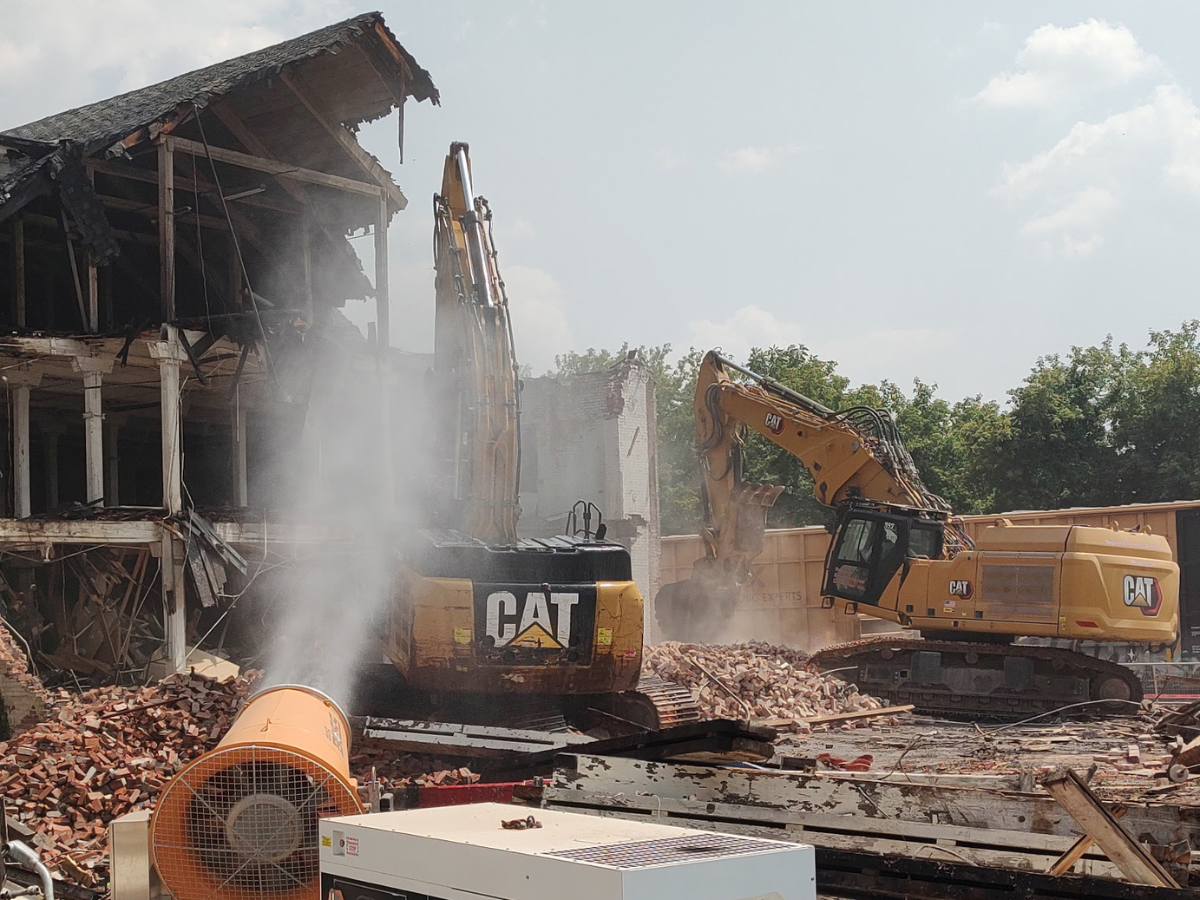
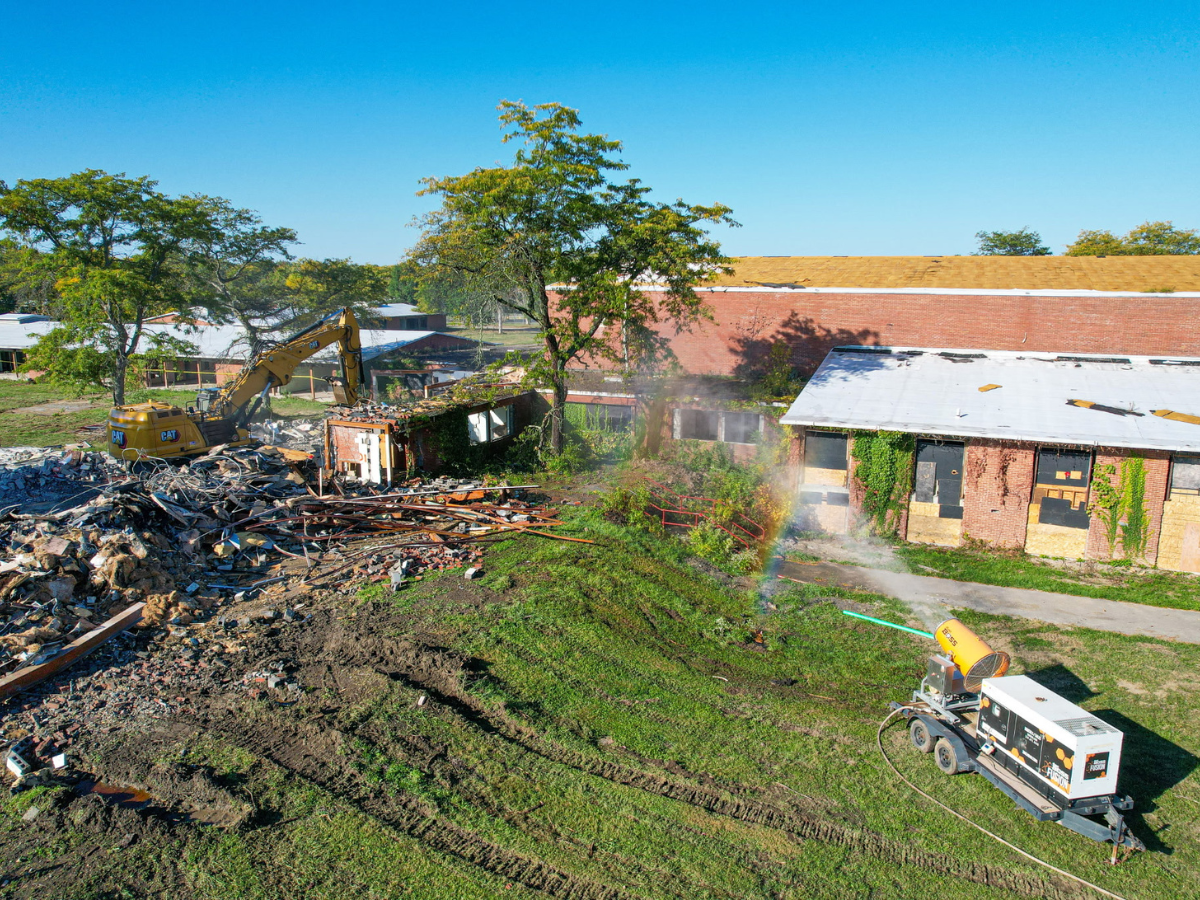
On the scheduled day, the demolition crew will arrive with the necessary equipment, such as excavators, bulldozers, or wrecking balls, to carefully and safely tear down the structure.
Step 8: Post-Demolition Site Cleanup
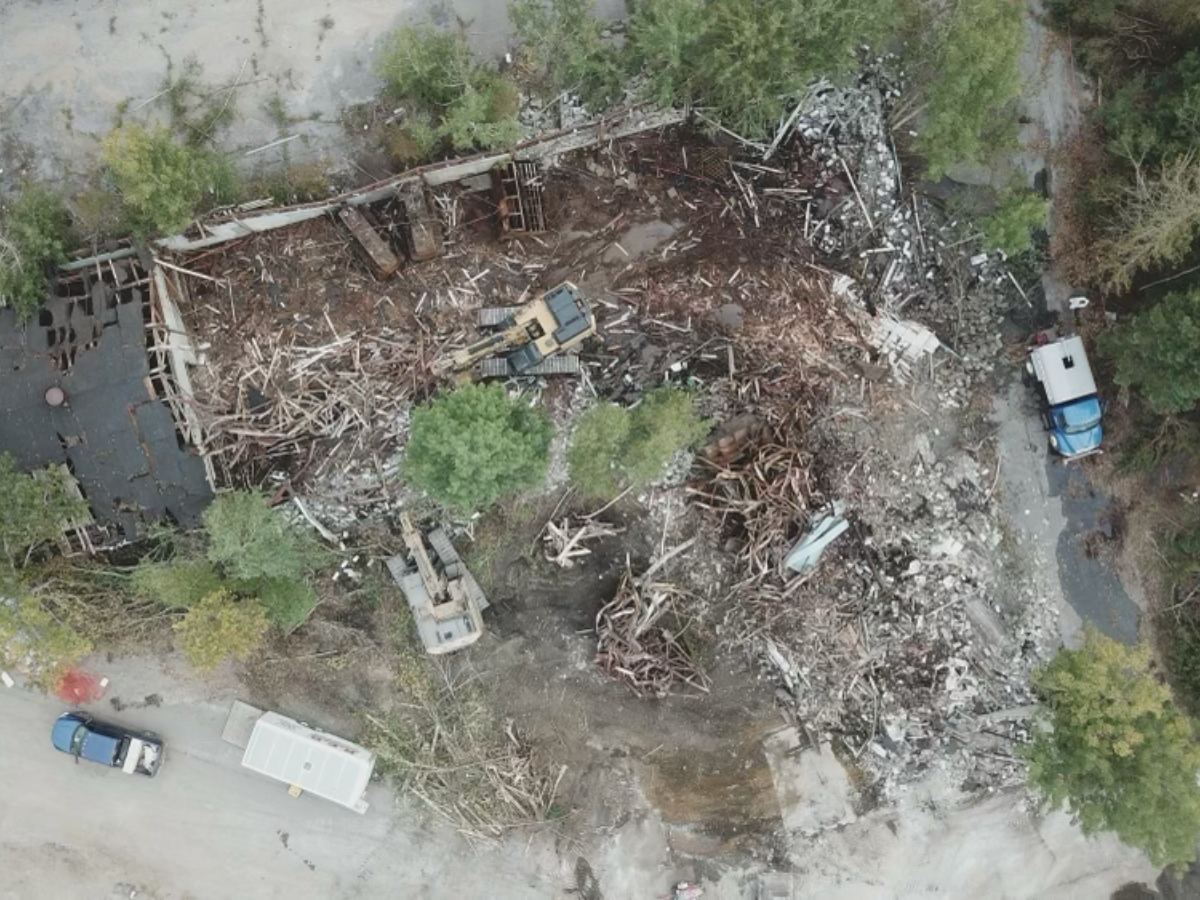
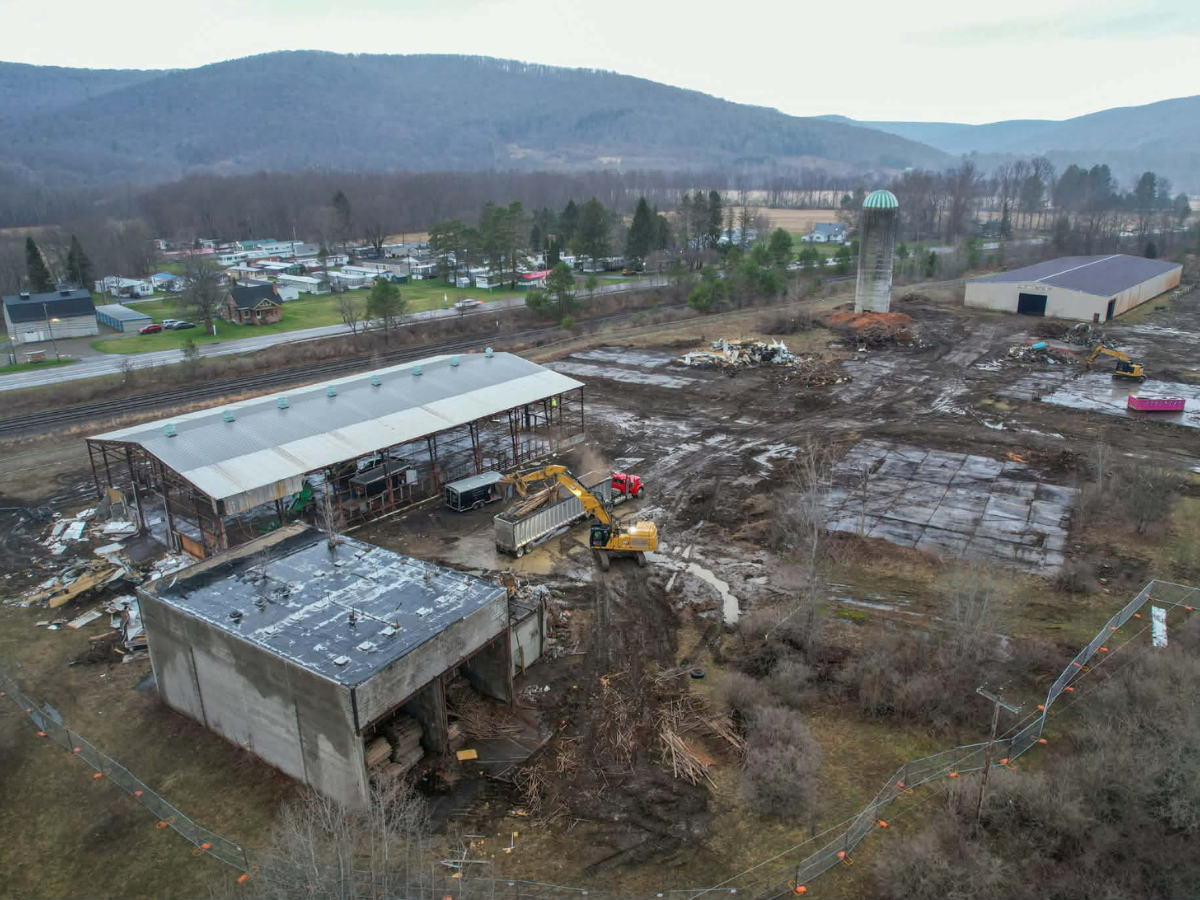
After the demolition is complete, the site will need to be cleaned up before any new construction can begin. This includes removing debris, hazardous materials, and leveling the site. Proper post-demolition cleanup ensures that the land is safe and ready for the next phase of your project.
Professional demolition contractors like R.E.D. provide full post-demolition site cleanup services, ensuring that your property is cleared, graded, and prepared for future construction.
A Smooth and Safe Demolition Starts with Preparation
Demolition may seem like a straightforward process, but it requires careful planning and coordination to ensure that it’s done safely and efficiently. By following these steps, property owners can prepare their homes for demolition and avoid unnecessary delays or complications.
Ready to start your demolition project? Contact Regional Environmental Demolition Inc. (R.E.D.) at (716) 284-3366 for expert demolition services and professional guidance from start to finish.